I got a physical half-écorché which I designed!

Published at Thu, August 27, 2026

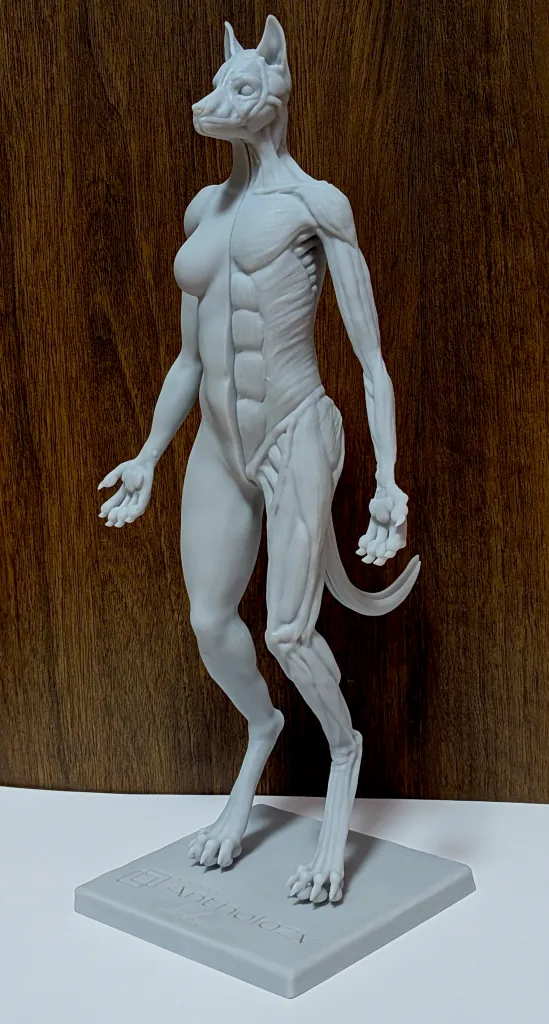
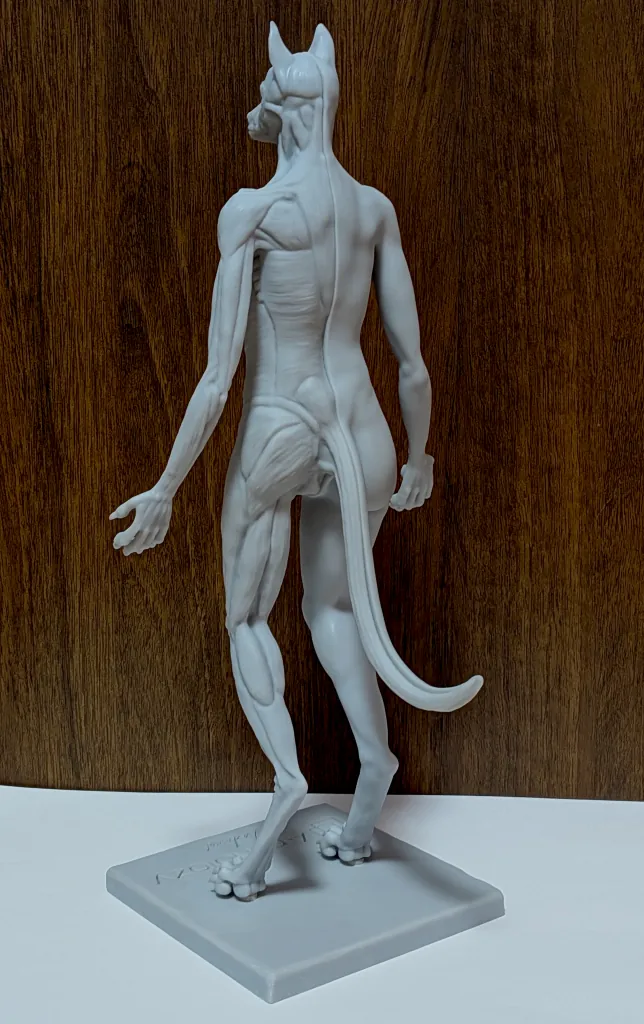
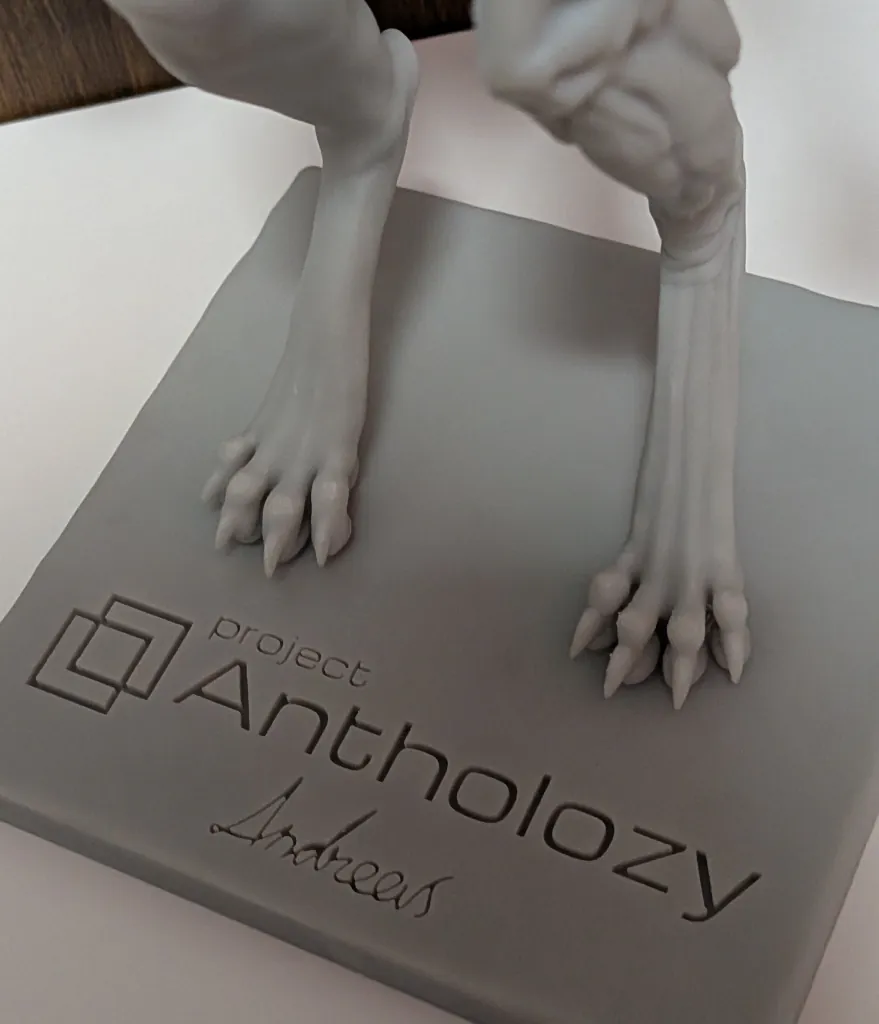
I got a half-écorché which I designed! I’d like to write about the process of getting it and my thoughts along the way.
1. Specifications
Height: about 27cm Weight: 316 g Manufacturer: JLC3DP Material: Grey Resin Structure: magnetic split-body
2. Why I made this?
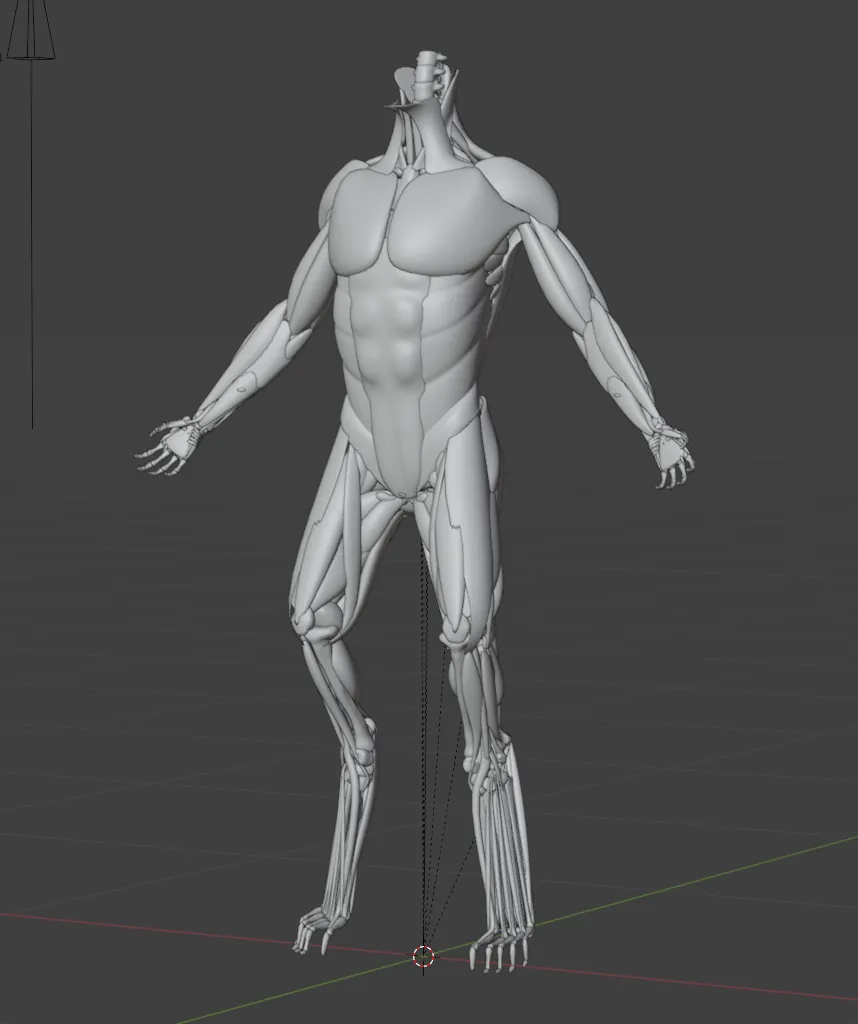
I had previously created a comparative anatomy model called GAAM (Generalized Animal Anatomy Model). Although I had the idea of algebraic transformations to account for interspecies and intersex differences, it was not fully implemented.
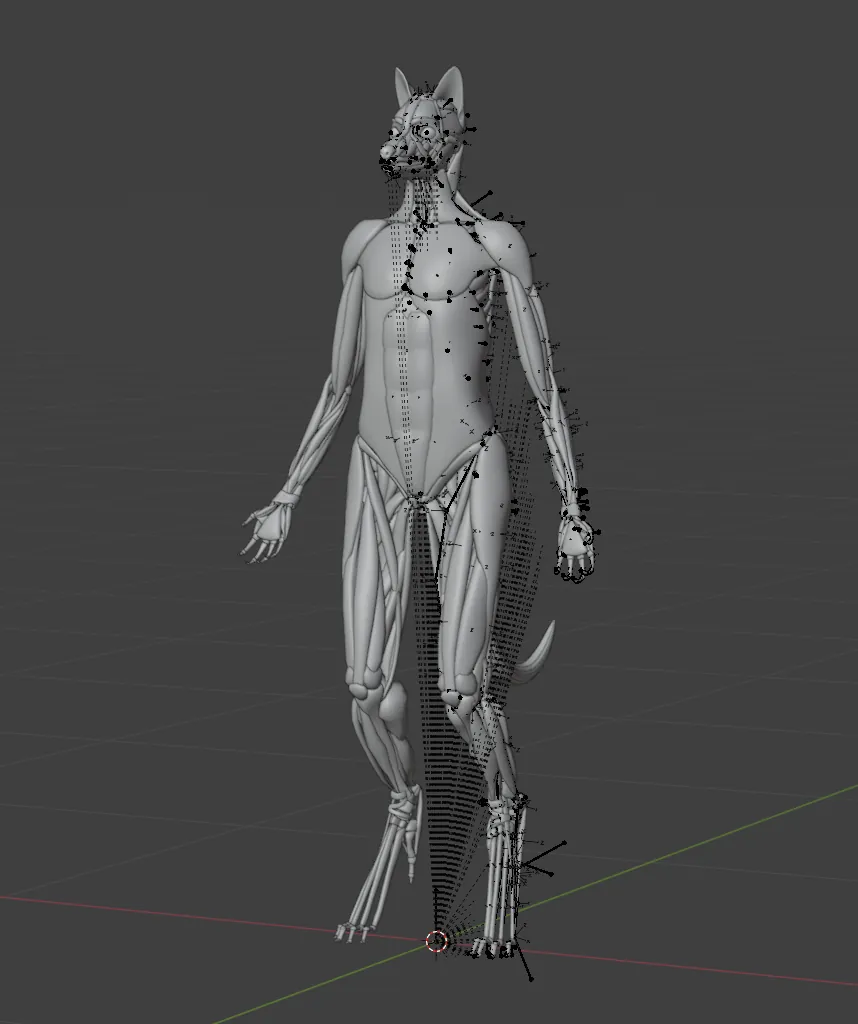
My mother gave me the concept for “my new body as a cat in Antholozy.” Wanting to give shape to this new body—and also to create a new comparative anatomy model—I spent three months starting last December creating a new comparative anatomy model named Harmony.
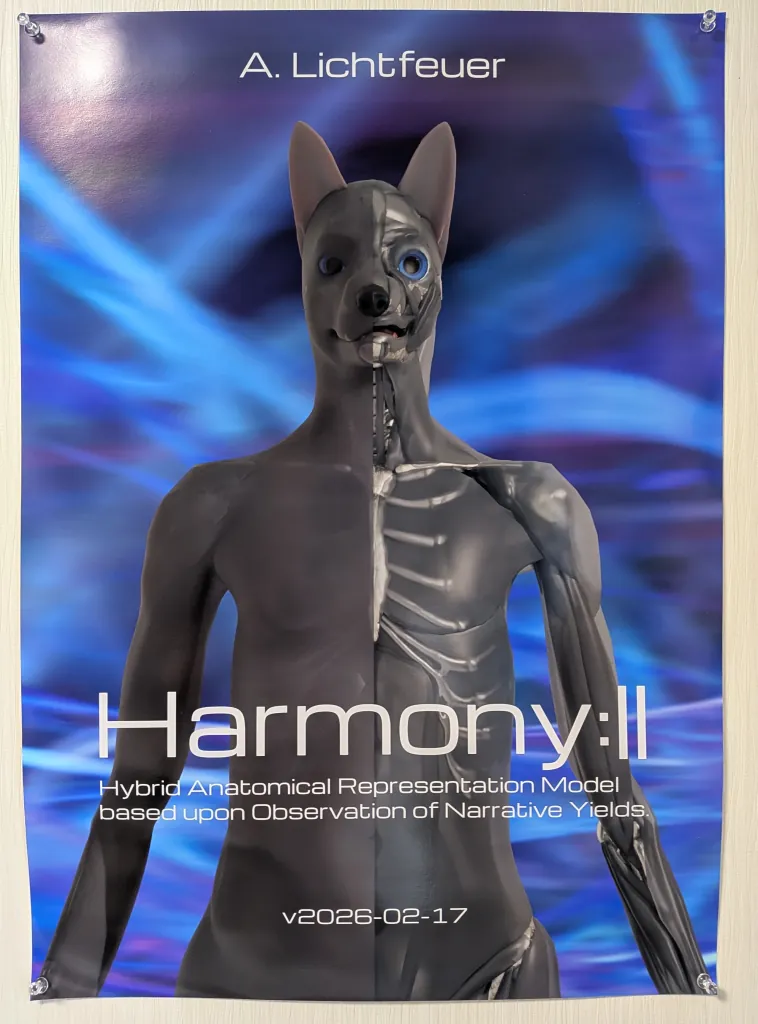
I grew quite attached to Harmony, so I placed a order used up my accumulated points to make a Harmony poster to hang in my room. However, I thought it wouldn’t be very interesting to have just a flat poster when the original was 3D, so I decided to make a half-écorché to place on my desk.
3. Making process
1. Export a base mesh from Harmony
Although Harmony is primarily a reference model, it also includes an experimental feature that outputs base meshes for sculpting.
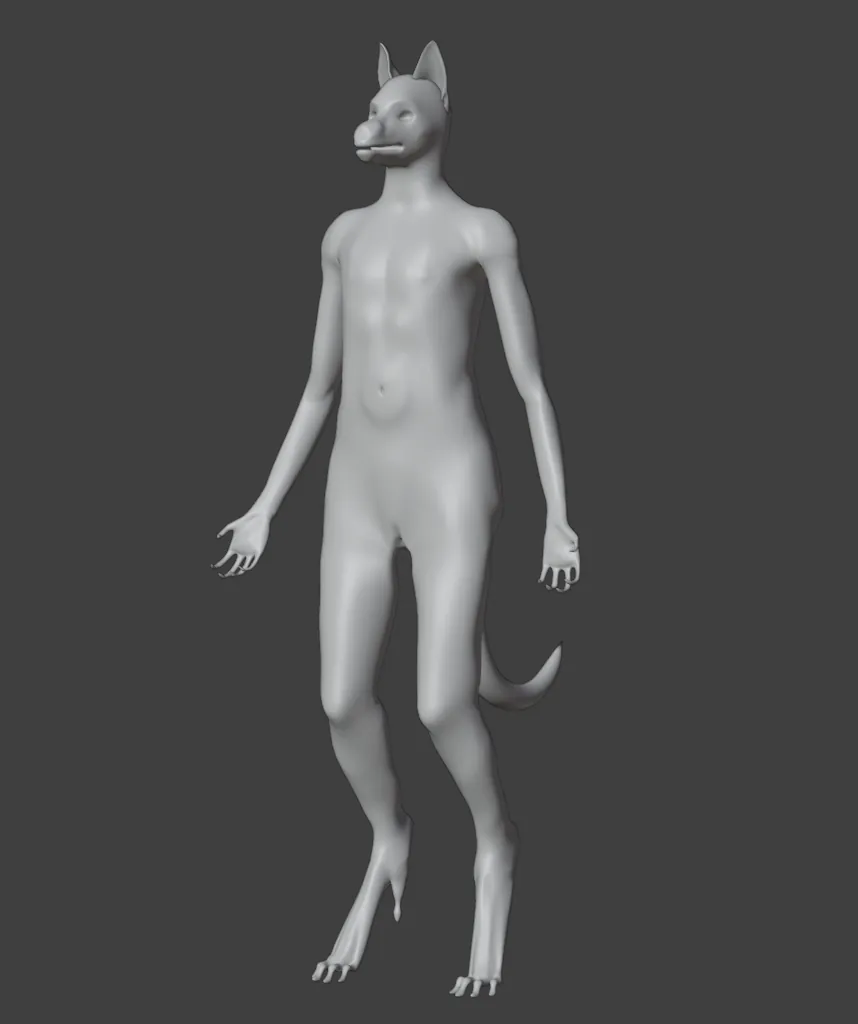
Since Harmony was originally based on a female-like wolf body and could be controlled via the UI, I had almost no trouble at all.
2. Sculpt the musculoskeletal side using Harmony as an anatomical reference
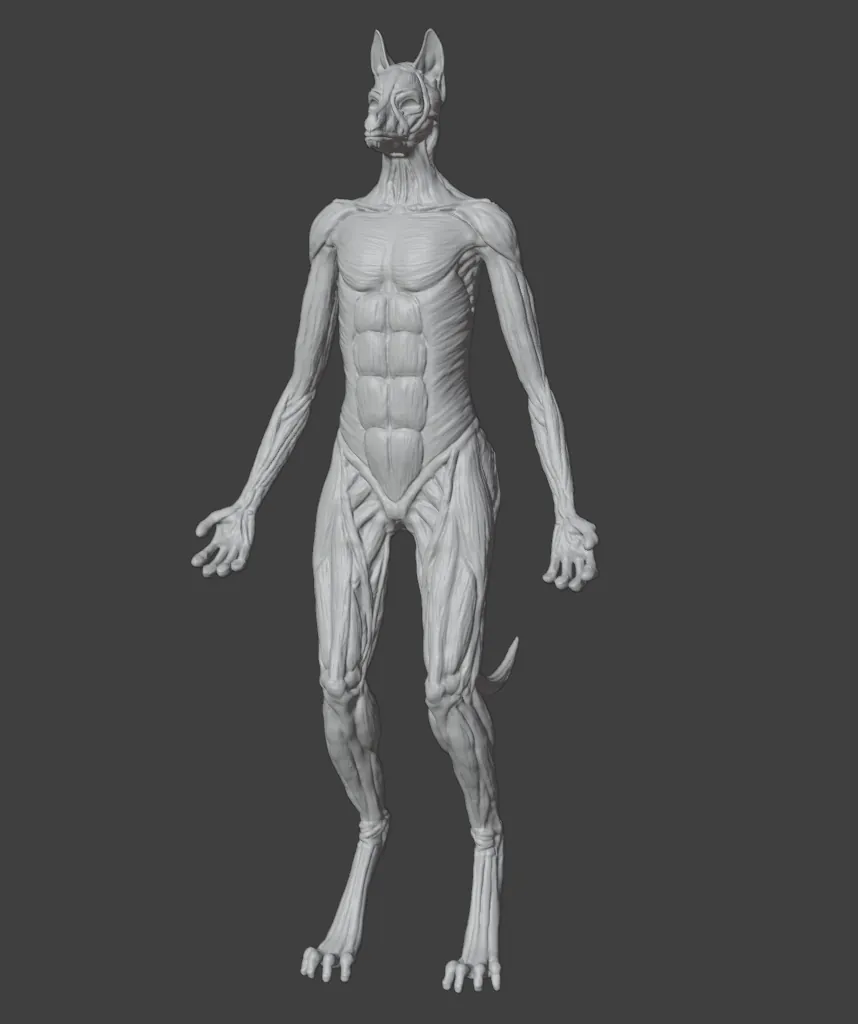
Thanks to Harmony, I had almost no trouble figuring out the general skeletal structure. I realized I lacked a sufficient understanding of the anatomy of wolf hands and feets, so I relied on external references to create those.
3. Sculpt the fat-and-skin side using both the musculoskeletal model and physical simulation
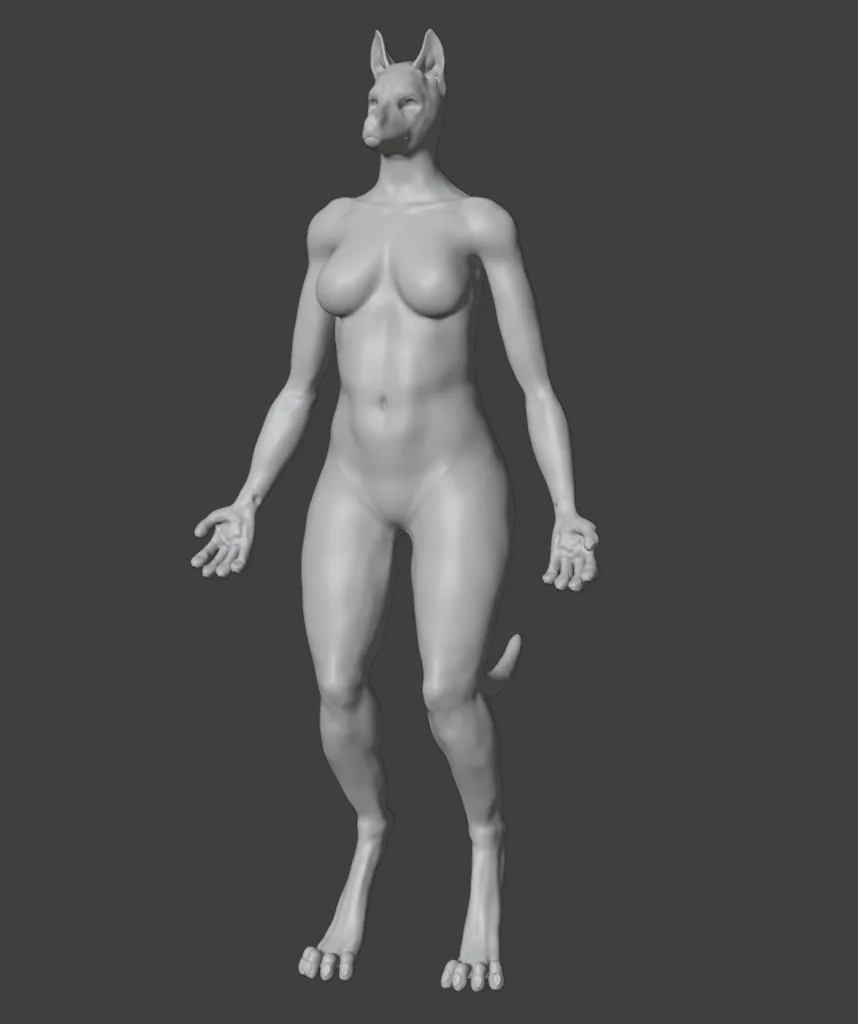
For the large fat bodies, I used cross-simulation to create a rough shape and combined it with the musculoskeletal model. It was really interesting to make the process by which the rugged body gradually transformed into a smooth female body.
Tips: I’ve made a time-lapse between step 1. and step 3. Can you watch on my page…?
4. Create data for 3D printing
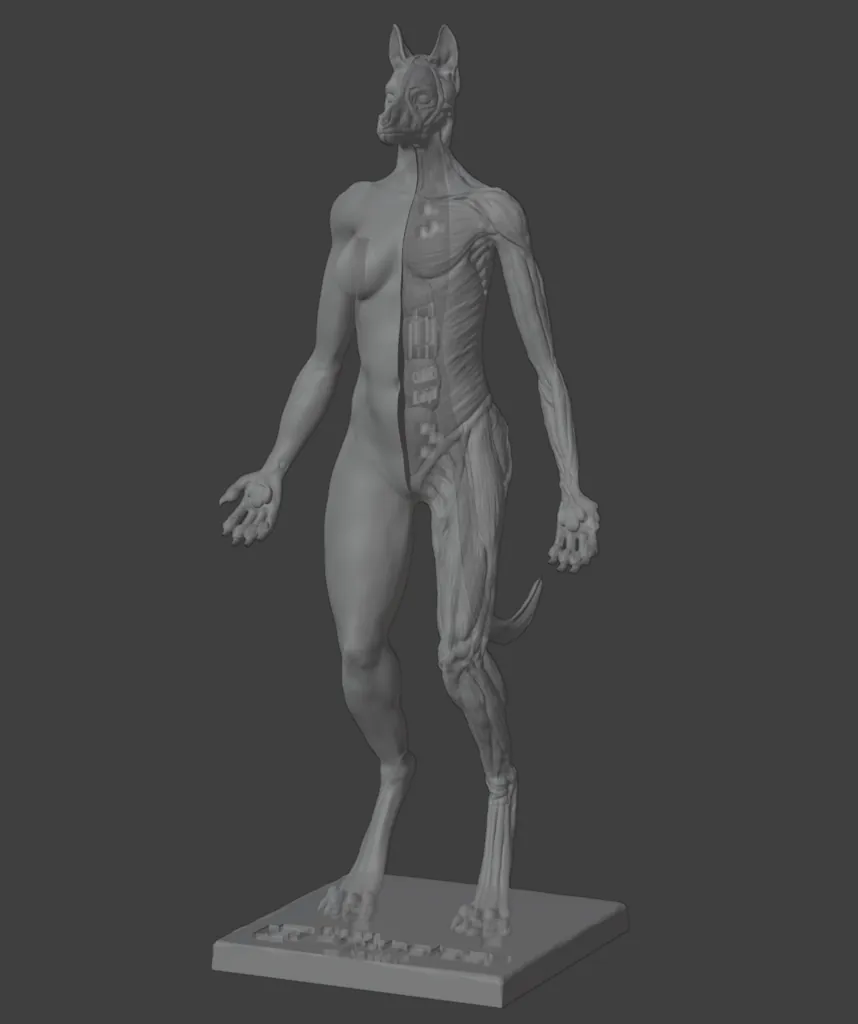
To ensure interchangeability between different species, I devised a system where the left and right sides are separated and joined with magnets. Taking the dimensions of the magnets into account and considering the tolerances inherent in 3D printing, I decided to do a test print first.
5. Test print and data corrections
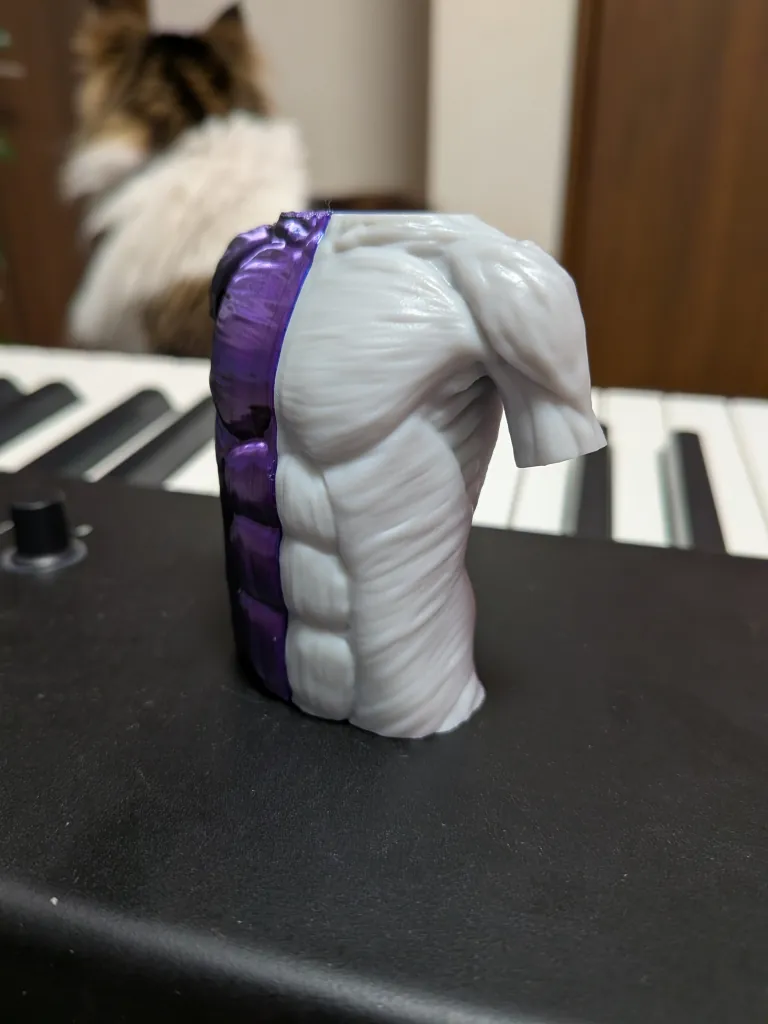
I outsourced only the torso section of the musculoskeletal side to a factory. The purple one was made on my home FDM 3D printer, and the gray one is a test piece that was printed using SLA and shipped to me. I found that the magnets fit perfectly into holes with dimensions almost identical to the magnets themselves so I corrected any unnatural aspects of the model’s geometry.
6. Final print and tail corrections
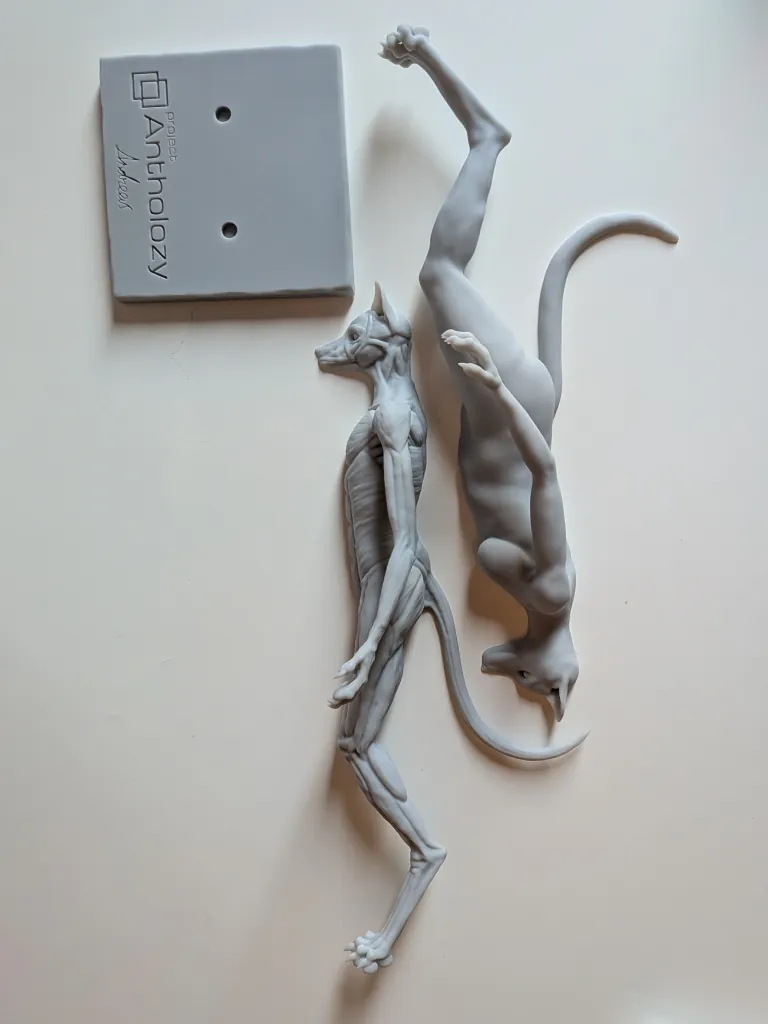
Realizing it was safe to proceed with the print as is, I outsourced the printing to the factory.
And…the parts arrived. There was absolutely no breakage of the fingers or claws, which had been a concern.
Only the thin tail section on the musculoskeletal side had warped. However, after checking the material properties, I was able to correct it by heating it in 75°C warm water, straightening it, and then cooling it.
4. What I learned once it became a physical object
Unlike industrial products, precision isn’t that critical here, so as long as you correct any warping with hot water before assembly, I don’t think warping during printing will be a problem. It’s also a joy to know that this half-écorché which—neither a rendering nor a poster—actually exists in the real world. The space ―my room― feels a bit surreal.